Garage Door Sensor Repair
The door gets halfway down and climbs back up, or it won't start closing at all while the opener light flashes. Those are the classic signs of a safety sensor problem. Momentum takes garage door sensor repair calls 24 hours a day, 7 days a week, across Bal Harbour, North Miami and the surrounding areas.
(954) 636-6320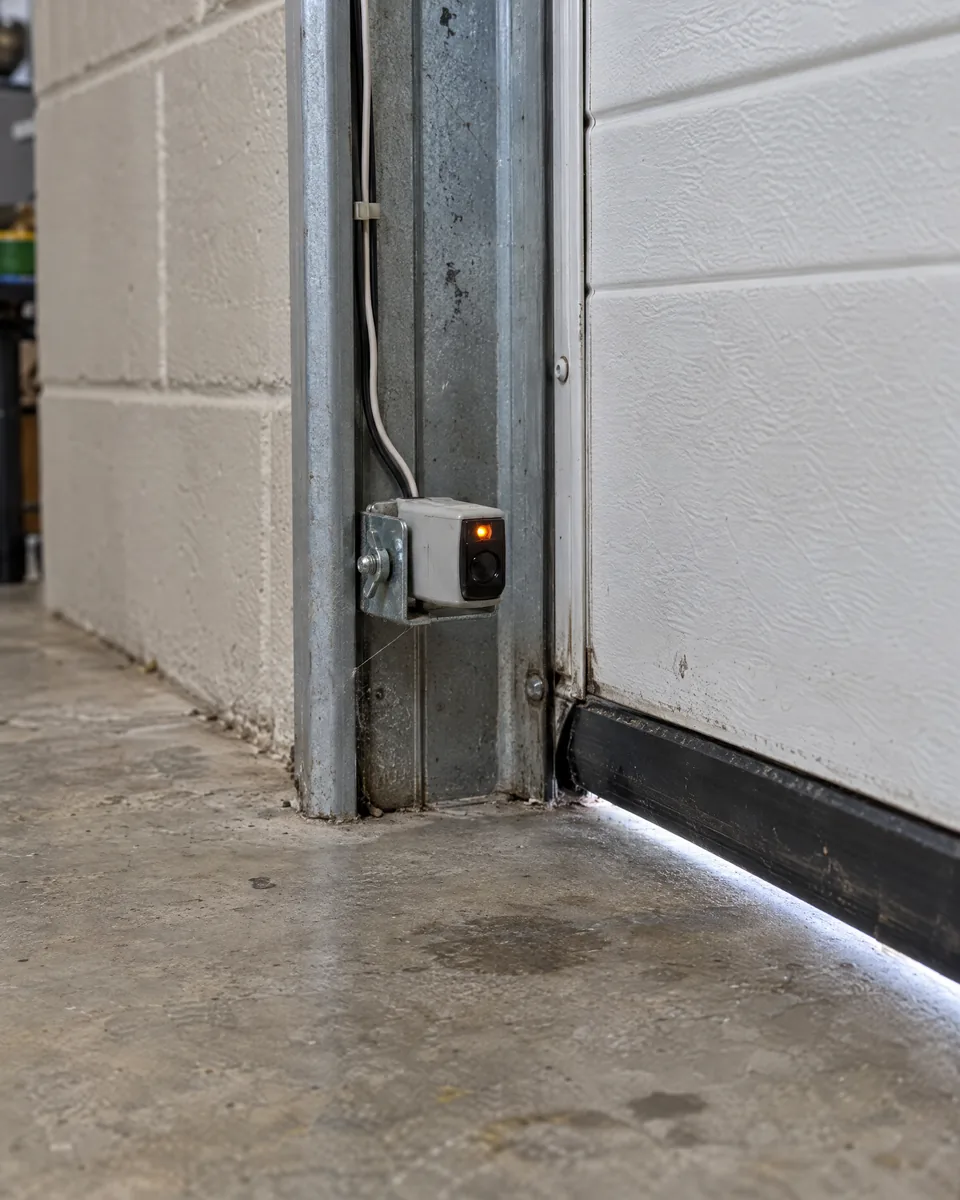
Is it really the sensors?
Photo-eye sensors only matter while the door is closing. If the door misbehaves on the way up, or won't move in either direction, the cause is usually somewhere else.
Probably the sensors if
- The door starts down, then stops and reverses with nothing in the way.
- Holding the wall button down closes the door, but the remote won't.
- One sensor light is off or blinking while the other glows steadily.
- The trouble comes and goes with the time of day, when low sun shines into the garage.
- A sensor was recently bumped by a bike, a bin or a car bumper.
Probably something else if
- The door won't open either, or the motor hums without moving it.
- It reverses right as it touches the floor, which often points to the travel or force settings.
- The door jerks, hangs crooked or made a loud bang. Those are spring, cable or track problems.
- Nothing responds at all, from any button.
A safe sensor check you can do yourself
None of these steps go near the springs or cables. Unplug the opener before handling any wiring, and stop at anything you aren't comfortable doing.
- Clear the opening. Leaves, cobwebs, a mop or a box near the floor can break the invisible beam between the two sensors.
- Wipe both lenses with a soft, dry cloth. A film of dust or salty grime can be enough to block the signal.
- Look at the indicator lights. On many systems one sensor shows a steady light whenever it has power, and the other lights up only when it can see the beam.
- If the receiving light is out or flickering, loosen the bracket's wing nut, turn the sensor gently until its light holds steady, then tighten it again.
- If low sun hits one lens, try closing the door at another time of day. If that works, a small shade over the receiving sensor can help.
- Test the safety reverse. Lay a 2x4 flat in the door's path and close the door. It should reverse when it touches the board. If it doesn't, stop using the opener until it's checked.
If the lights stay dark after all this, the cause may be a broken wire, a corroded connection or a sensor that has failed.
Why garage door sensors stop working
Sensor faults fall into a few groups. Some take two minutes to sort out, others need new wire or a new pair of sensors.
Knocked out of line
A bump turns one eye a few degrees off target. From then on the opener thinks something is in the way every time the door closes.
How the beam works →Dirt and sunlight
Dust, spider webs, salty residue and direct sun on the receiving lens can all confuse the beam.
Damaged or corroded wiring
The thin wire runs low along the wall, where it is easy to staple through, crush or chew. Humid, salty air can also corrode the connections over time.
A sensor that has failed
Sensors crack or simply wear out. A failed pair can often be swapped for a compatible new pair without replacing the opener.
The opener isn't reading them
Sometimes the sensors are fine and the fault sits in the opener's logic board or its sensor terminals.
Opener repair →
What federal rules require of garage door sensors
Photo eyes sit on nearly every opener because of a federal standard, 16 CFR Part 1211, which covers residential openers made on or after January 1, 1993. CPSC explains that reversing systems were required first, on openers made after January 1, 1991, and external entrapment protection was added in 1993.
More than one way to comply
The rule allows an external photoelectric sensor, an edge sensor on the bottom of the door, a separate inherent sensor, or another device that protects as well. Photo eyes became the usual choice.
The opener checks them every cycle
Under 16 CFR 1211.8(c), the opener must confirm the device is present and working at least once on every close. That is why a cut, unplugged or missing sensor stops the door instead of letting it close unprotected.
Hold-to-close works only from the wall
DASMA explains that when an external sensor isn't working, the door may close only from a constant-pressure switch, never from a portable transmitter. That is the rule behind the wall-button behaviour in the questions further down.
Tested against glare, up to a point
The federal test shines a 500-watt flood lamp at the receiver from 5 feet away, 15 to 20 degrees off the beam. Genie's manual still warns that direct sunlight can interfere with its receiving sensor, so glare trouble isn't a sign the parts are faulty.
CPSC has reported about 73 children aged 2 to 14 trapped and killed under automatic garage doors since March 1982, roughly three a year. The beam exists to stop that.
Garage door sensor repair: height, spacing and pairs
A sensor that works but sits in the wrong place is still a fault. When a bracket is bent, replaced or moved, these are the figures it has to meet.
| Rule | Figure | From |
|---|---|---|
| Beam height | No higher than 6 inches above the floor | DASMA TDS-364, Chamberlain |
| Typical mounting band | 4 to 6 inches (CPSC), 5 to 6 inches (Genie) | CPSC, Genie manual |
| Distance from the door | Within 6 inches of the door's path | DASMA TDS-364 |
| Spacing | Usually up to 20 feet apart, more only if the maker allows it | DASMA TDS-364 |
| Two doors | Each opener has its own pair, never a shared one | Chamberlain |
| Two doors side by side | Sending units back to back on the post between the doors, 4 to 6 inches up | Chamberlain |
DASMA gives the reason for the 6-inch limit plainly. It keeps a small child from crawling under the beam. Raising the sensors to clear bins or bikes defeats the whole point, so move the clutter instead.
Photo eyes, edge sensors and how each one sees
Most homes have a through-beam pair, but DASMA's data sheets describe several ways an opener can sense something in the doorway. Knowing which one you have tells you what tends to go wrong with it.
| Type | How it detects | Contact needed? | Weak spots |
|---|---|---|---|
| Through-beam photo eye | Emitter on one side of the opening, receiver on the other | No | Alignment, dirty lenses, glare, wiring |
| Retro-reflective photo eye | Emitter and receiver in one unit, aimed at a reflector across the opening | No | A knocked or dirty reflector |
| Pneumatic edge | An air channel in the bottom rubber is squeezed by an obstruction and trips a switch | Yes | A puncture, a cut tube or a lost end plug |
| Electric edge | Two conductive strips inside the bottom rubber touch when it is pressed | Yes | Damaged strips or wiring |
| Optical edge | A light beam inside the bottom rubber is blocked when the rubber is pressed | Yes | Damage to the edge profile |
DASMA is clear that only monitored edge sensors, tested with the opener to UL 325 and listed in its manual, count as entrapment protection. An edge from another system is not a drop-in swap.
The thin wire between the sensors and the opener
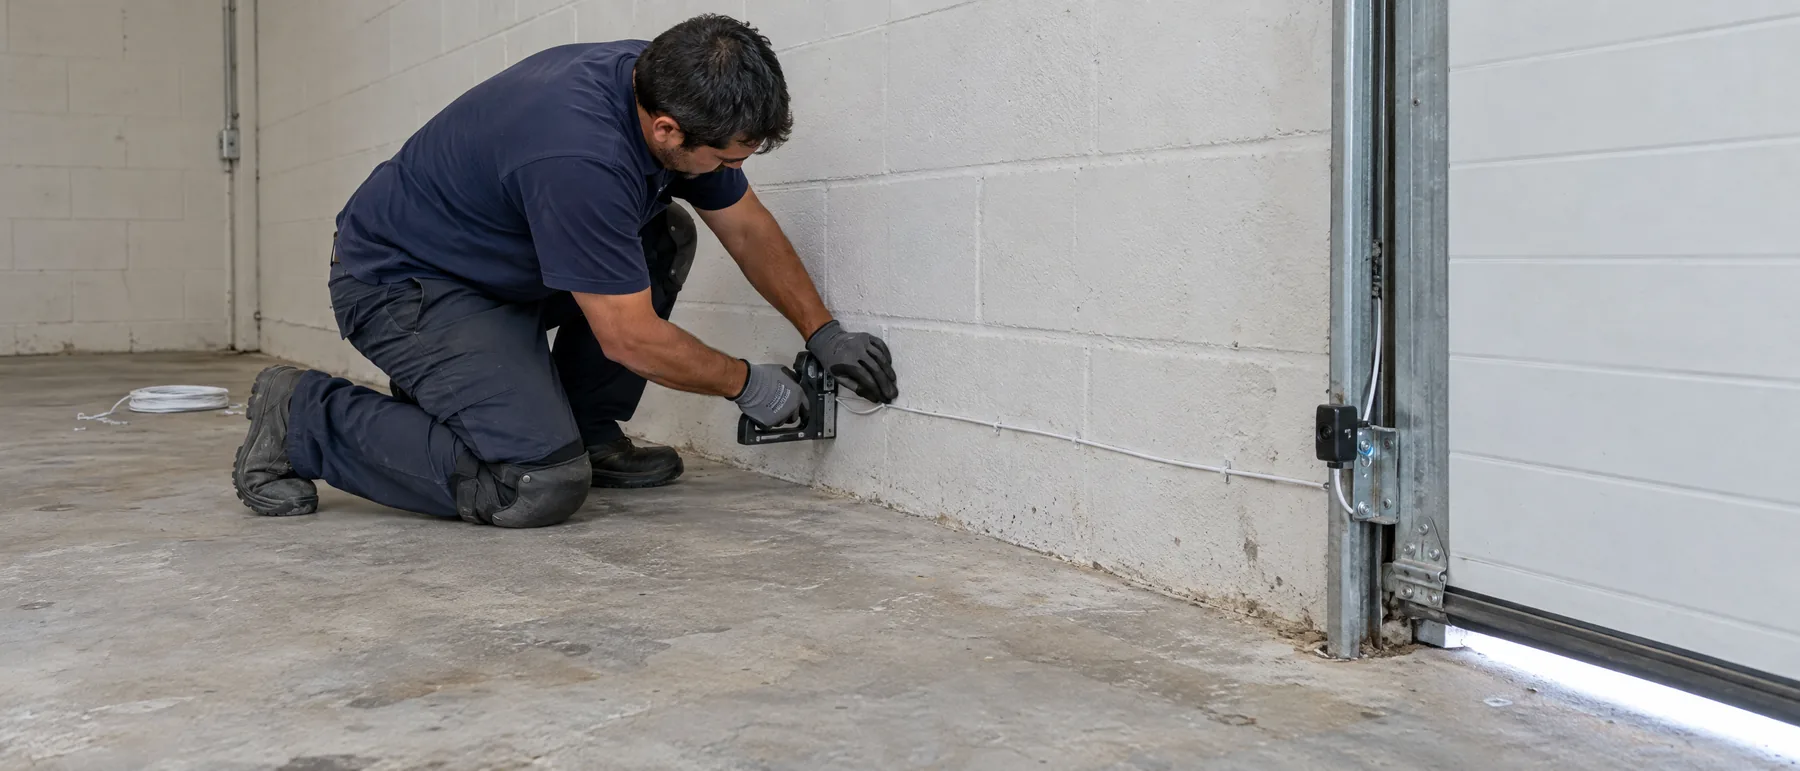
Plenty of sensor calls turn out to be wire calls. The run is long, thin and low on the wall, right where it gets stapled, crushed, chewed and splashed.
Staples
Genie's manual warns that insulated staples driven too tight can damage the wire and make its sensors malfunction. Its troubleshooting chart adds that staples can cut the insulation and short the wires.
Terminals
The sensor wires land on two terminals on the opener. On Genie's belt and chain units the striped wires go to terminal 1 and the white wires to terminal 2. Genie's replacement sensor kit, on the other hand, is non-polar, so either wire can go on either terminal. The instructions for your exact parts decide.
What dark lights can mean
On Genie's diagnostic chart, both sensor lights off means the opener has no power or the wiring is shorted. A dark sending light beside a lit receiving light points to the wire to the sending unit.
Splices near the floor
Connections low on the wall sit in damp air. A green or white crust on the copper means the joint needs to be cut back and remade, not just wiggled.
Unplug the opener before touching any of it. Genie's sensor instructions say the power cord must be unplugged before any wires are attached.
Matching new sensors to the opener
Sensors are not universal. The opener has to recognize the pair, and the makers say so in writing.
Genie
Genie's opener manuals tell owners not to use photocells from other manufacturers or other openers. Its replacement Safe-T-Beam kit is sold for Genie openers.
LiftMaster and Chamberlain
LiftMaster's sensor kit 041A5034 is listed for openers made after 1997 and does not support models made before 1997. That kit is now discontinued and points buyers to a replacement part, which shows how part numbers shift over the years.
The light colors differ too
That LiftMaster kit uses an amber light on the sending unit and a green light on the receiving unit. Genie's units pair a red light on the source with a green one on the receiver. Reading the lights starts with knowing the brand.
So the brand, the model number and the rough age of the opener are worth finding first. On a very old opener, matching sensors may no longer be made, and the question becomes opener installation rather than a sensor repair.
Sun, salt and storm season for sensors in South Florida
Coastal garages are harder on sensors than a test lab. Three things come up again and again.
Low sun
Genie's fix for glare is simple. Find which side of the garage gets direct sun and mount the sending unit on that side, so the receiver faces away from it. The pair may also sit a little farther out from the opening, within the maker's limits, as long as they stay lined up.
Salt and humidity
A film builds on lenses faster near salt water and in humid summer air. Genie's manual lists a monthly sensor check covering loose connections, cracked or worn insulation and dirty lenses.
Storm season
The National Hurricane Center gives the Atlantic season as June 1 to November 30. After a storm or a power cut, a sensor pair that stays dark while the opener's light works points to wiring or a damaged unit rather than alignment.
Describing a sensor problem when you call
A few details make a sensor call much quicker to sort out.
- The opener's brand and model number, from the label on the motor unit.
- The color of each sensor light, and whether each one is steady, blinking or dark.
- What the door does: won't start down, stops partway and reverses, or reverses right at the floor.
- Whether holding the wall button closes it.
- Whether the trouble depends on the time of day.
- Anything that recently touched a sensor, the wall wiring or the bottom of the door.
Momentum takes these calls 24 hours a day, 7 days a week at (954) 636-6320.
Garage door sensor repair questions
Can I replace just the sensors and keep my opener?
Often, yes. Sensors usually come as a pair, and a compatible pair can be fitted to an opener that otherwise works. The pair has to be one the opener recognizes, so the opener's model matters.
Why does the door close when I hold the wall button but not with the remote?
On many openers, holding the wall button down overrides the sensors so the door can still be closed in a pinch. That is a strong hint the sensors are blocked or out of line. If you use it, watch the door the whole way down.
Can I disconnect the sensors to get the door working?
Don't. Since 1993, openers sold in the US have had to carry a second safety system on top of the built-in reverse, and photo eyes are by far the most common one. Bypassing them removes the protection that stops a closing door on a child, a pet or a car.
Why does the opener light blink when the door won't close?
On many openers the blinking light is the unit reporting a sensor fault. The number of flashes can mean different things on different makes, so the owner's manual is the best guide.